Withdrawn
Withdrawn
Replaced by
BW100
BW100

ABM
Shock absorber without snap hook
Withdrawn
Replaced by
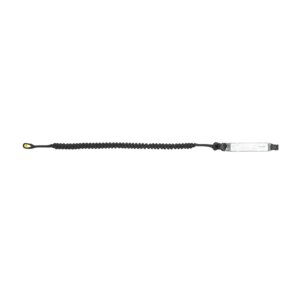
BW100SCF-LB101
BW100SCF-LB101
ABM SCF BW210
Shock absorber with lanyard for works on scaffolds and snap hooks
Withdrawn
Replaced by
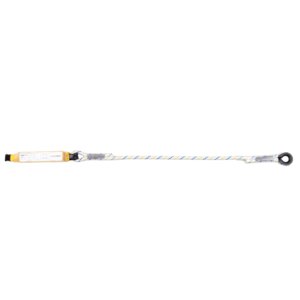
BW100SCF-LB102
BW100SCF-LB102
ABM SCF BW220
Shock absorber with twin-tail lanyard for working on scaffolds with snap hooks
Withdrawn
Replaced by
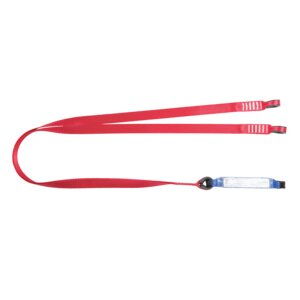
BW100SCF-T
BW100SCF-T
ABM SCF BW230
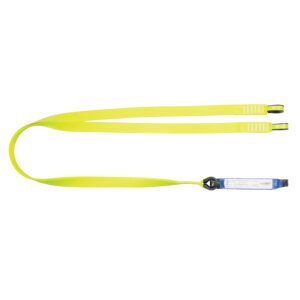
Shock absorber with an webbing for works on scaffolds and snap hooks
Withdrawn
Replaced by
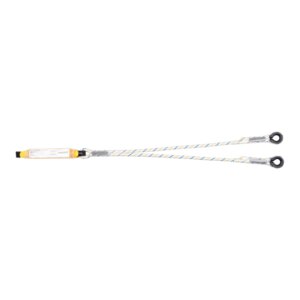
BW100SCF-2T
BW100SCF-2T
ABM SCF BW240
Shock absorber with twin-tail webbing for works on scaffolds and snap hooks
Withdrawn
Replaced by
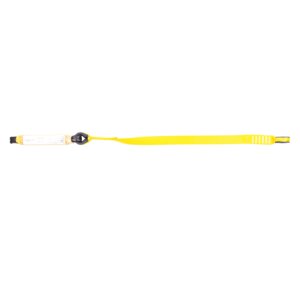
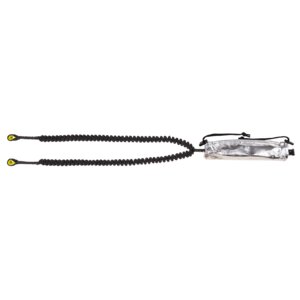
BW100SCF-LE111
BW100SCF-LE111
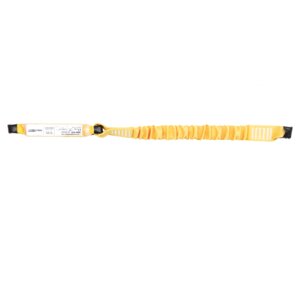
ABM SCF BW250
Shock absorber with elastic webbing for works on scaffolds and snap hooks
Withdrawn
Replaced by
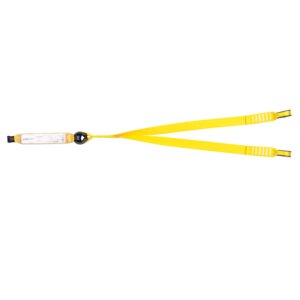
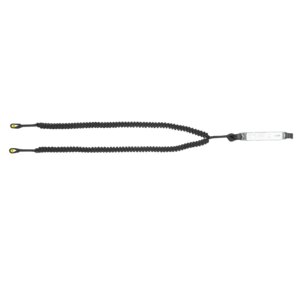
BW100SCF-2LE111
BW100SCF-2LE111
ABM SCF BW260
Energy absorber with elastic twin-tail webbing for works on scaffolds and snap hooks
Withdrawn
Replaced by
BW100/2T
BW100/2T
ABM-2T
ABM-T shock absorber without snap hooks
Withdrawn
ABM-2T HV
Shock absorber with twin-tail HV strap without snap hooks
Withdrawn
Replaced by
BW100/T
BW100/T
ABM-T
ABM-T shock absorber without snap hooks
Withdrawn

ABM-T HV
HV shock absorber with a single strap without snap hooks
Withdrawn
Replaced by
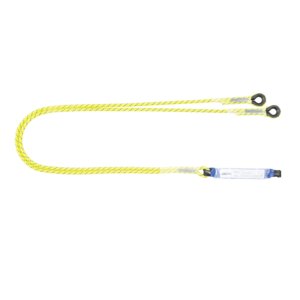
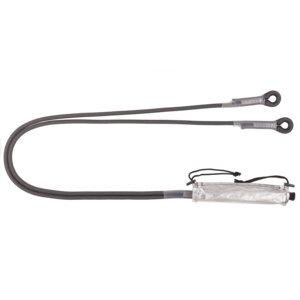
BW100/2LB100
BW100/2LB100
ABM/2LB100
Shock absorber with twin-tail adjustable lanyard without snap hooks
Withdrawn
Replaced by
BW100/2LB200
BW100/2LB200
ABM/2LB200 FLR
Heat-resistant shock absorber with adjustable lanyard without snap hooks
Withdrawn
Replaced by
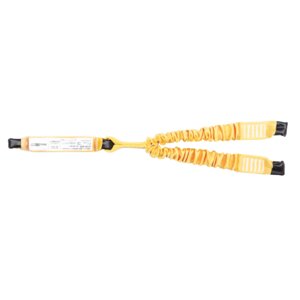
BW100/2LE111
BW100/2LE111
ABM/2LE111
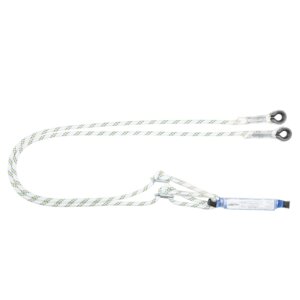
Shock absorber with twin-tail elastic lanyard without snap hooks
Withdrawn
Replaced by
BW100/2LE211
BW100/2LE211
ABM/2LE211
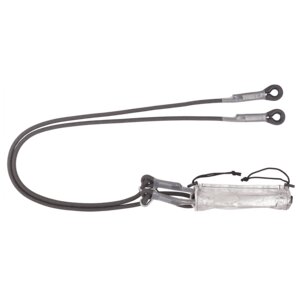
Heat-resistant shock absorber with twin-tail elastic lanyard without snap hooks
Withdrawn
Replaced by
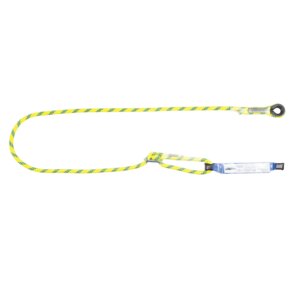
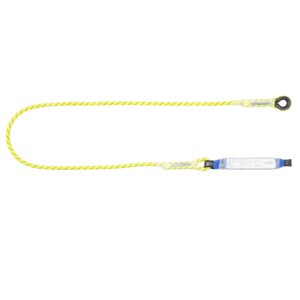
BW100/LB100
BW100/LB100
ABM/LB100
Shock absorber with adjustable lanyard without snap hooks
Withdrawn
ABM/LB100HV
Shock absorber with adjustable lanyard without snap hooks
Withdrawn
Replaced by
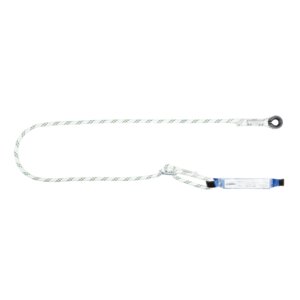
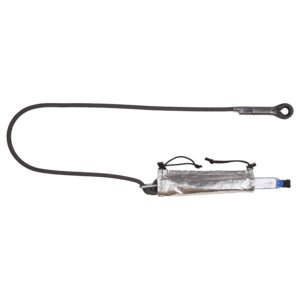
BW100/LB101
BW100/LB101
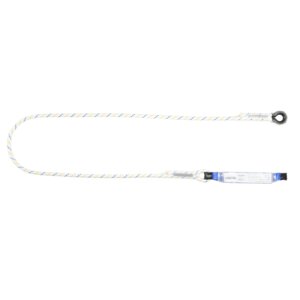
ABM/LB101
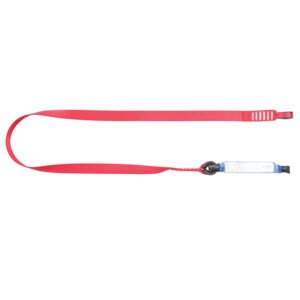
Shock absorber with lanyard without snap hooks
Withdrawn
ABM/LB101HV
Shock absorber with HV lanyard without snap hooks
Withdrawn
Replaced by
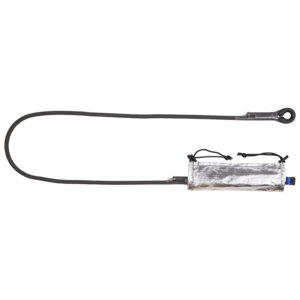
BW100/LB102
BW100/LB102
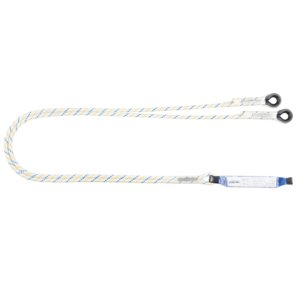
ABM/LB102
Shock absorber with twin-tail lanyard without snap hooks
Withdrawn
ABM/LB102HV
Shock absorber with twin-tail HV lanyard without snap hooks
Withdrawn
Replaced by
BW100/LB200, AW137/LB200
BW100/LB200, AW137/LB200
ABM/LB200 FLR
Heat-resistant shock absorber with adjustable lanyard without snap hooks
Withdrawn
Replaced by
BW100/LB201, AW137/LB201
BW100/LB201, AW137/LB201
ABM/LB201 FLR
Heat-resistant shock absorber with a lanyard without snap hooks
Withdrawn
Replaced by
BW100/LB202
BW100/LB202
ABM/LB202 FLR
Heat-resistant shock absorber with twin-tail lanyard without snap hooks
Withdrawn
Replaced by
BW100/LE111
BW100/LE111